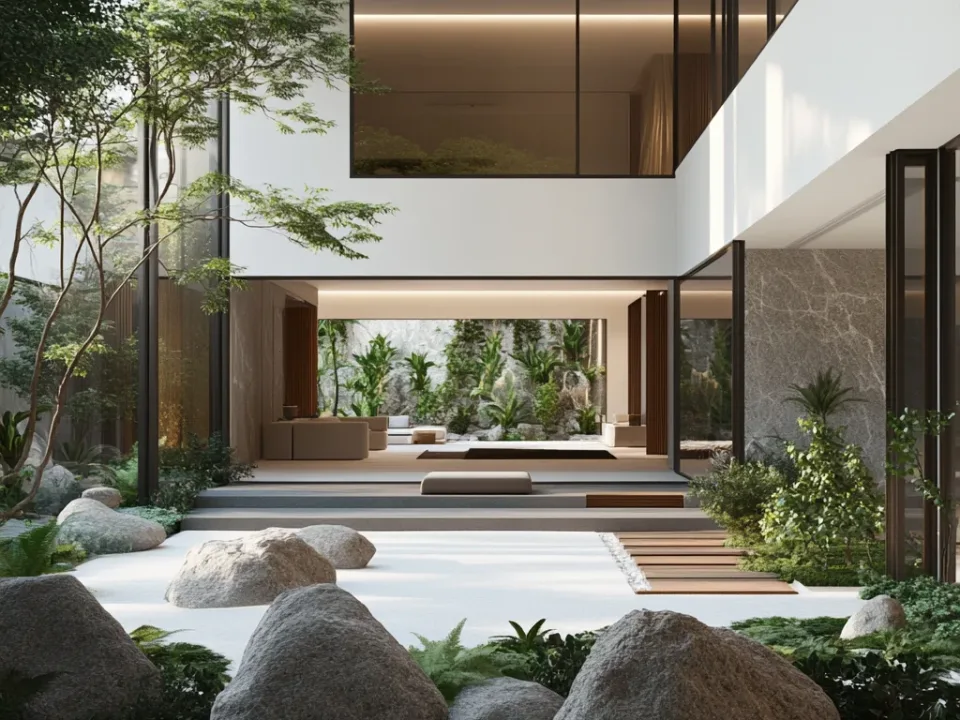
What Is Rendering? Render Settings Explained
A clear explanation of what rendering is, the difference between pre-rendering and real-time rendering, and the settings that control quality.
The word “render” essentially means to compile or put together. What is rendering? It can be described as the process that produces the output of computer software in 2D and 3D animation, images and video modeling. This article covers what rendering is, with render settings explained step by step.
What is rendering? In computer-aided design software, it is the concept that brings together effects, editing and compositing. Render is one of the most frequently used words in 3D design. Technically, rendering calculates the sets of light rays that spread through the scene from the interaction of lights, reflections and objects in the design scene. The render calculation starts by identifying the objects, materials, lights and effects. Based on the position of the light source, it calculates where rays will travel and where shadows will form. In short, it is the final form of the design.
What Are the Types of Rendering?
Now that we have seen what rendering is, we can say there are 2 types of rendering. They are:
- Pre-processing (Pre-Rendering)
- Real-time processing (Real-Time Rendering)
Pre-Rendering
It is used where speed is not important in the scene. Pre-rendering requires multi-core central processing units. It is used in projects that demand the highest visual realism, especially in visual effects and animation. There are 3 different calculation techniques in this type of rendering:
- Ray tracing
- Scanline
- Radiosity
Real-Time Rendering
It is used for images that are generated very quickly, in interactive media and game graphics. Real-time processing is especially needed in video games with a high level of user interaction. Real-time rendering and fast code compilation are made possible by high-performance graphics cards.
Render Settings Explained: Why Is Rendering Necessary?
Once rendering is complete, the design image takes its final form. While you are working in effects and design software, the viewport does not show colors, lights and objects with high-quality materials and finishes.
During design, creating and processing fully realistic scenes in real time is far beyond the capacity of most computers. That is why rendering is done once the design has taken its final form. Rendering outputs the image with high-quality materials and detail. With the right render settings, you can save both computer resources and time. Rendering plays an important role in photography, video animation, video and special effects editing.
How Do You Render?
Render engines work in harmony with 3D software. Some render engines run inside the program, while others run as standalone desktop applications.
It takes a certain amount of time to learn how engines work and how to use them. As we always say, render settings come into play at the very last stage, after modeling and design are resolved. The variety of render settings depends on how detailed the render engine is.
The most detailed render engines are, in order, V-Ray and Unreal Engine, while Lumion, Twinmotion and Enscape are easier to use.
Rendering is the conversion of an image created with computer graphics or 3D modeling software into the color and brightness of a predetermined number of pixels. During rendering, elements such as the materials, lighting and camera settings of your 3D model are combined to create a realistic image.
Render settings include many different factors that determine render quality. These factors can affect the speed, quality and size of the render. Some common render settings are:
- Resolution: The setting that defines the number of pixels in the width and height of the render. Higher resolution gives higher quality but can also increase render time.
- Lighting: Settings such as the number, type and intensity of light sources used during rendering can increase the realism of the image.
- Material properties: Each material has its own surface properties, and these affect the result of the render. For example, the glossiness and reflection of glass, the texture of wood and so on.
- Camera settings: Settings such as camera angle, perspective and focal point affect the result of the render. The right camera settings produce a realistic image.
- Render engine choice: The render engine is the software that manages the rendering process. Different render engines have different features and performance.
When configuring render settings, you generally need to balance speed, quality and size. To speed up rendering, you can lower resolution and lighting settings. To improve quality, you can raise them. When choosing a render engine, pick the one that best fits your project’s needs. Every render engine has its own advantages and disadvantages.
In conclusion, configuring render settings correctly is essential for a realistic image.