SketchUp Model Preparation Before Rendering: Helpful Extensions
The five most time-consuming pre-render tasks in SketchUp and the extensions and guides that speed up model preparation for any render engine.

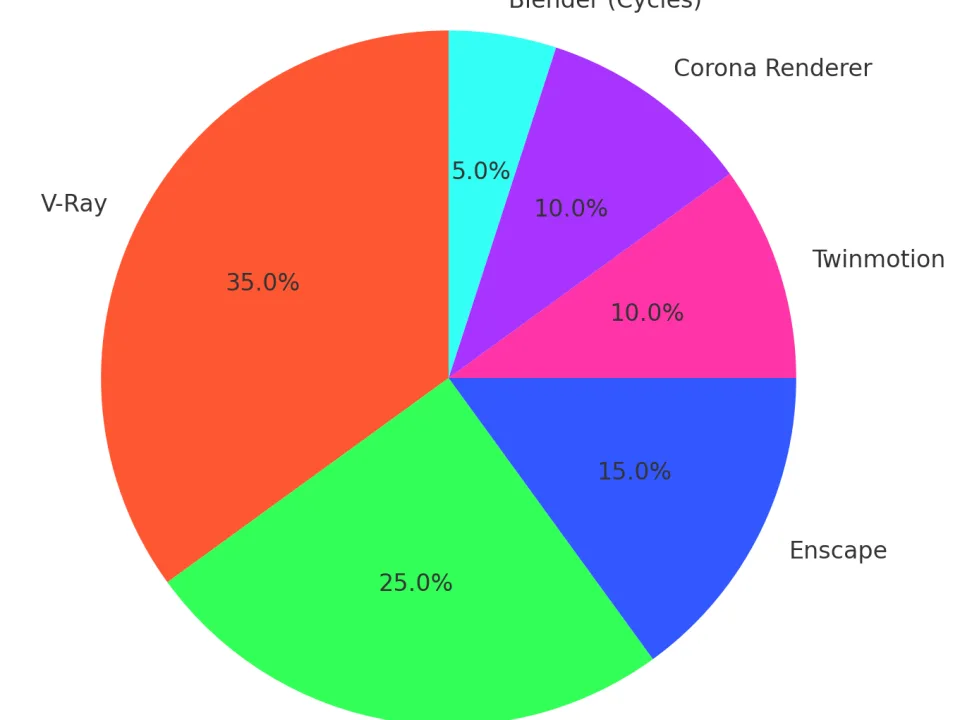
In architectural visualization, we often look for a render’s time cost in the wrong place. Light, camera and material settings take a few hours; the real days go earlier, into the model itself. That is why SketchUp model preparation before rendering matters so much: walls with the right thickness, windows with real frames and sashes, cabinets with a defined cut list, textures at the correct scale, surroundings that are not left empty… Whether you use V-Ray, Enscape, Lumion or D5, the engine can only be as good as the model you give it.
When working in SketchUp at the studio, we rely on a resource that gathers the tools that speed up this preparation stage: bestsketchupplugins.com — SketchUp extensions for architecture and interior design. In this article, we summarize the five most time-consuming pre-render tasks and what to look for in each.
1. Model Cleanup: The First Step of SketchUp Model Preparation Before Rendering
Reversed faces, walls with no thickness, double-layered glass and the same material repeated under forty different names all come back in the render as either blotches or longer render times. Here is the article explaining that, whichever engine you choose, the real work is in the model: SketchUp rendering extensions and model preparation.
2. Doors and Windows: Real Joinery, Not Boxes
In a close-up interior render, a window without a frame, sash, weatherstrip and handle stands out immediately. You can find how to build a window component that cuts the wall automatically, and the shortcut for when you have forty windows, in How to make windows in SketchUp; for doors, see the How to make a door in SketchUp guide.
3. Cabinets and Furniture: Buildable, Not Just Visible
In interior visualization, clients often want exactly the cabinet they see in the render, so modeling cabinets panel by panel rather than as boxes links the render to the quote and to production. Including carcasses, door gaps and kitchen heights: Drawing cabinets in SketchUp.

4. Textures and Edges: The Cheapest Route to Realism
Parquet at the wrong scale makes a room look smaller than it is, and perfectly sharp edges make a model look like a scale mockup. How to apply textures at the right size, and why they stretch on curves: SketchUp texture guide. For rounding edges on close-up details such as tables, countertops and steps, you can use the free Yumuşak Kenar extension: Rounding corners in SketchUp.
5. Context and Landscape: No Empty Sites
In exterior renders, when the area around the building is left empty, even the best lighting cannot save the image. The free CityFill extension, which generates surrounding buildings instead of downloading them, fills the site in a few clicks; for terrain, plants and roads, see the Landscape design in SketchUp guide. All the free tools are on one page: free SketchUp extensions.
SketchUp extensions that speed up modeling before rendering
Tools for doors, windows, cabinets, floors, curtains, surrounding buildings and landscaping, plus installation guides and free extensions. SketchUp 2021–2026, in Turkish and English.
Which stage takes up most of your time in visualization projects? Share in the comments, and we will add the most frequently asked topics to new guides.
Related articles: Site Design in 3D Architectural Projects: An Inspiring Story · What Is the Twinmotion Render Engine? · Common Mistakes in 3D Visualization: Realistic Rendering
Looking for photorealistic visuals for your project? Browse our architectural visualization projects or send us your drawings on WhatsApp.