Files Needed for Architectural Rendering: A 3D Modeling Checklist
A practical checklist of the drawings, 3D models, materials and references a studio needs to deliver architectural renders faster, with fewer revisions.
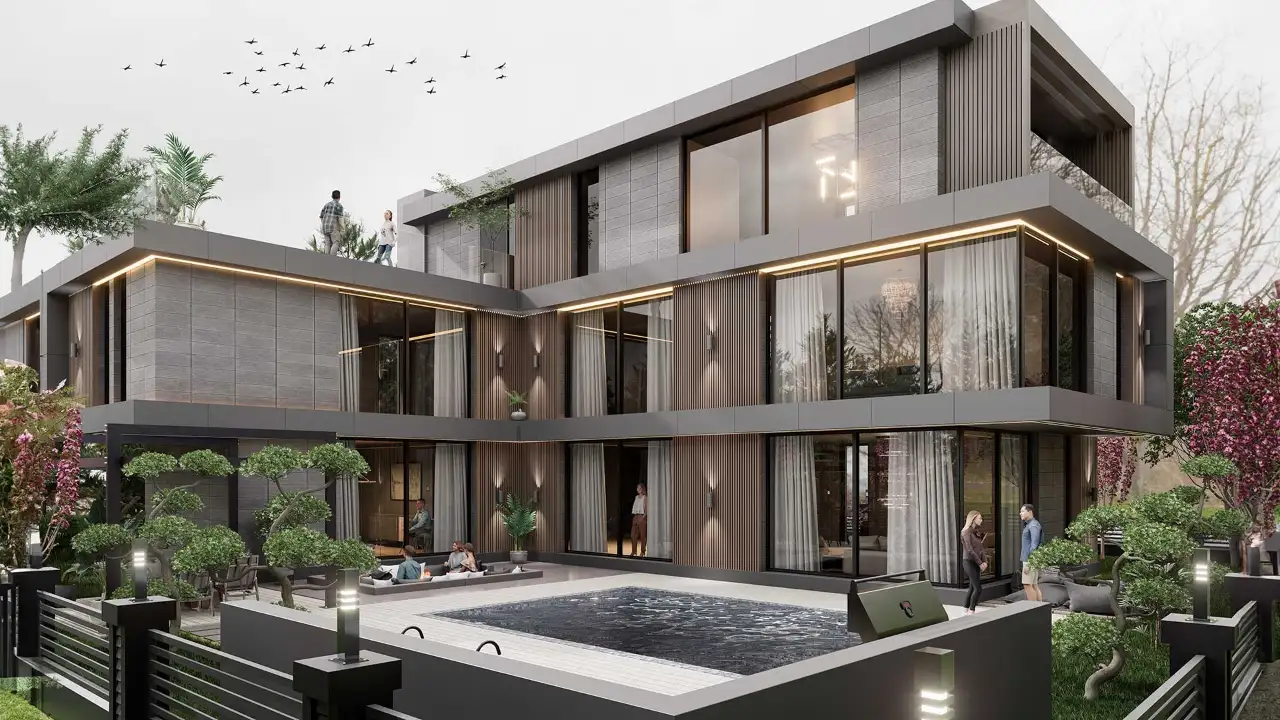
When the files needed for architectural rendering arrive complete and accurate, an architectural visualization project finishes faster and with fewer revisions. Sending a studio a single PDF floor plan versus sending dimensioned drawings, a materials list and reference images can make a difference of several days. In this guide we use a checklist to explain which files are required for 3D architectural modeling and rendering, which formats speed up the work and what needs to be agreed before delivery.
How do your files affect the rendering process?
The first, and often the longest, stage of an architectural render is 3D architectural modeling. The modeler builds the building or space in three dimensions from your drawings; lighting, materials and cameras can only be worked on once that model exists. If the drawings are incomplete or contradictory, the modeler has to guess or come back to you for more information. Well-prepared files eliminate these waiting times. If you are curious about the modeling process, read our article on 3D architectural modeling.
Files needed for architectural rendering: a checklist
1. An existing 3D model (the biggest time saver)
If the project has a SketchUp (.skp), Revit (.rvt), 3ds Max (.max), Rhino (.3dm) or 3D DWG file, be sure to send it. An existing model shortens modeling time considerably. A clean model also matters: a file with unused layers, overlapping faces and hidden objects removed will not cause problems at the rendering stage.
2. 2D architectural drawings (DWG or PDF)
If there is no 3D model, it is built from the drawings. For that, you will need:
- Floor plans: All floors, dimensioned and up to date.
- Elevations: All four sides, with window divisions and facade materials marked.
- Sections: For floor-to-floor heights, slab thicknesses and roof shape.
- Site plan: The building’s position on the plot, levels, roads and landscaping.
- Roof plan: Especially if aerial views are required.
DWG files are faster to work with than PDFs because measurements can be taken directly from them. If you only have PDFs, make sure the scale and dimensions are legible.

3. Materials and colors list
Facade cladding, window frame and balustrade colors, floor finishes, and the choice of wood, stone and fabric for the interiors determine how true to life the render will be. Even a product name or photo from a manufacturer’s catalog is enough. For materials that are still undecided, asking the studio for alternative suggestions speeds up decision-making.
4. Reference images and a mood board
Renders you like, lighting moods (morning, sunset, night) and style examples clarify expectations that are hard to put into words. Three to five carefully chosen references are more useful than dozens of mixed images.

5. Site, surroundings and view information
In exterior renders, the building’s surroundings are as important as the building itself. Photos taken on the plot, neighboring buildings, the direction of the view and the angle of the sun make the image accurate and convincing.
6. Furniture and fixtures (for interiors)
For interior renders, the studio will ask for a furniture layout plan, the brands and models to be used, or photos of similar products. Kitchen, bathroom and lighting fixtures are part of this list too.
7. Camera angles and intended use
Marking the views you want on the plan (for example “main entrance facade, eye level” or “living room, looking toward the kitchen”) is the fastest method. Where the images will be used (web, brochure, site hoarding, presentation) also determines the resolution.

Which file formats speed up the work?
- Fastest: A clean 3D model (.skp, .rvt, .max, .3dm, 3D .dwg) together with a materials list.
- Fast: Dimensioned 2D DWG drawings with well-organized layers.
- Moderate: Vector PDF drawings with scale information.
- Slow: Scanned or photographed drawings and hand sketches. A model can still be built from these, but extra time is needed to verify dimensions.
What to agree on before delivery
Getting expectations clarified in writing is as important as the files themselves:
- Number of images and resolution: How many interior and exterior images will be delivered, and at what size.
- Revision process: How many rounds of corrections follow the camera and lighting approval.
- Delivery format: JPG, PNG or a high-resolution file for print.
- Source file: Whether the 3D model file will be handed over to you.
- Timeline: Interim approval dates and the final delivery date.

Can you get a render with incomplete files?
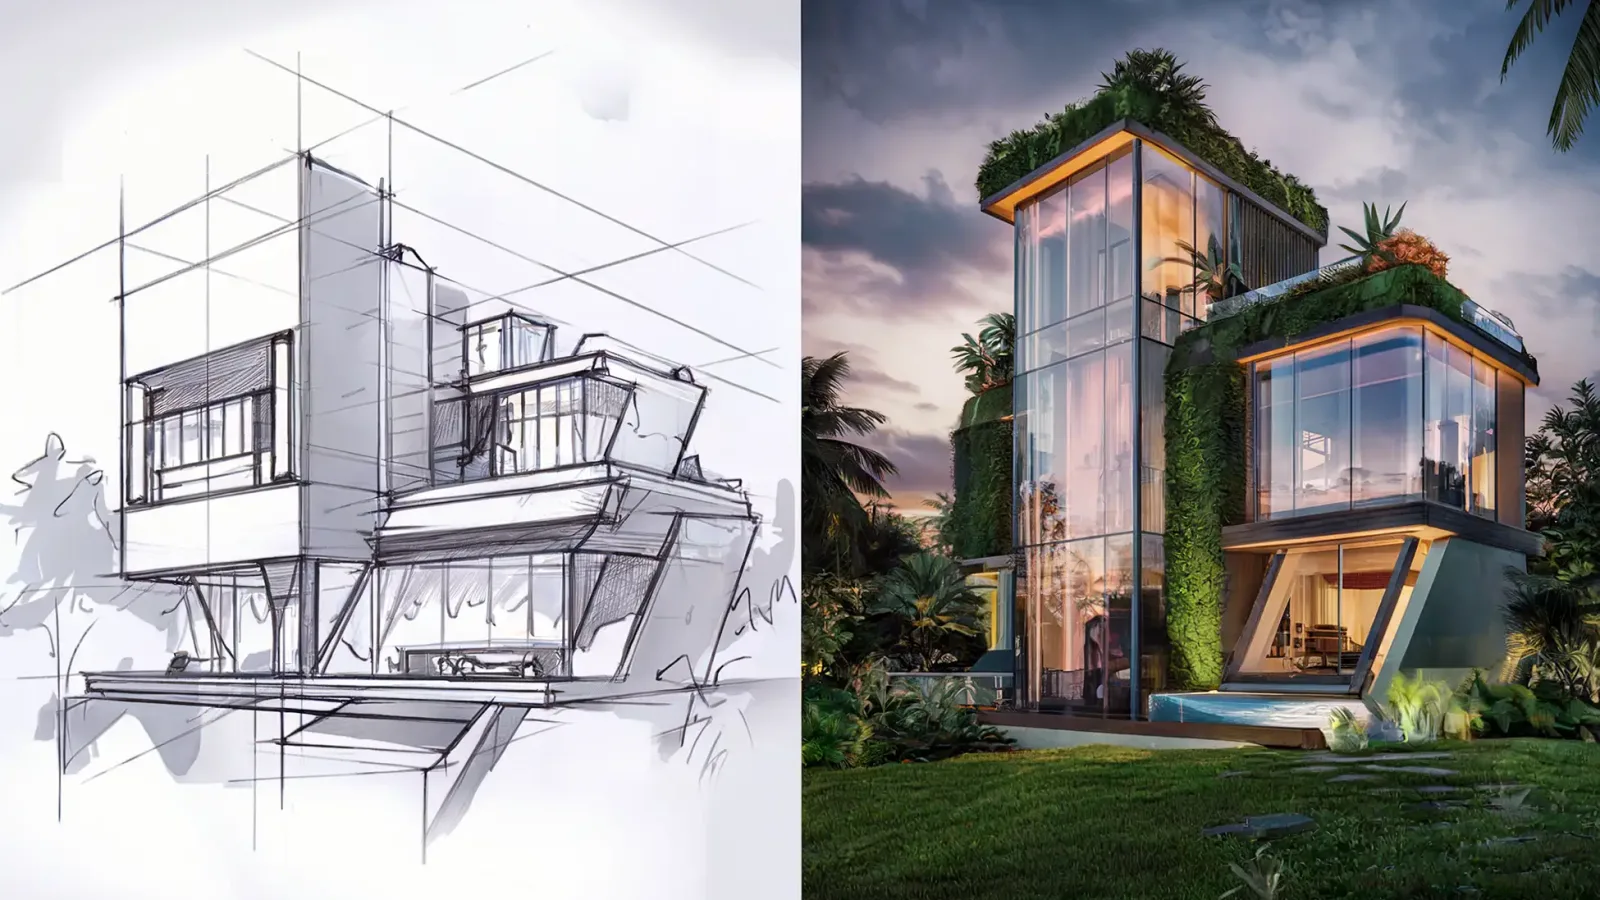
Yes. Even if all you have is a hand sketch or a dimensioned floor plan, a model can be built. In that case the studio fills in the missing information with you and suggests materials and details. For projects at the concept stage, AI-assisted quick visualization is another option. To learn more, see our architectural render prompt guide.
Frequently asked questions
What is the ideal file format for rendering?
A clean 3D model with well-organized layers gives the fastest result. SketchUp and Revit files are the most commonly used formats in architectural visualization.
Will my files stay secure?
Project files should be used only for the visualization. For confidential projects, it is wise to say so at the start and, if needed, ask for a non-disclosure agreement.
What happens if the drawings change?
Small changes made during modeling are usually easy to incorporate. Facade or plan changes made after the renders are finished, however, may require the images to be redone. That is why it is important to send drawings that are as final as possible.

Are your files ready? Send us your drawings on WhatsApp; if anything is missing, we will complete it together and confirm the scope and timeline for your project. You can browse our previous work on the architectural rendering projects page.