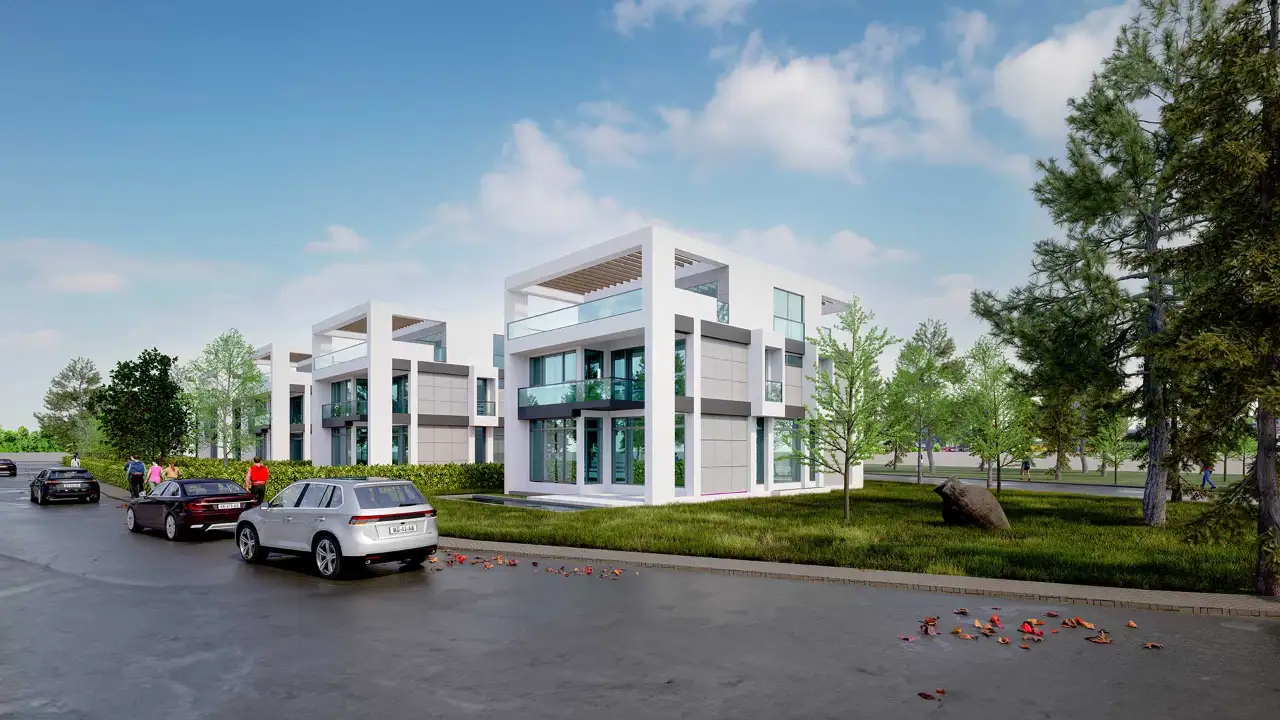
Retail Store Rendering: See the Window, Shelves and Flow First
How retail store rendering helps you test the storefront, shelving, lighting and customer flow before fit-out, and what to prepare for a good visual.

A shop’s fate is often decided in its first three steps: someone walking by glances at the window, comes through the door and something catches their eye. Yet nobody can see that scene when the lease is signed; you have a plan, a few material samples and a feeling of “I hope this works.” Retail store rendering reduces that uncertainty. It lets you see how the shop window reads from the street, how the shelves present the product and how a customer will move through the store, before a single shelf is installed. In this article we explain which decisions store visualization helps with and what you need to prepare for a good image.
Which decisions does retail store rendering make easier?
On a store project, the designer, brand owner, investor and fit-out team all read the same plan differently. A 3D image puts everyone in front of the same picture, so the conversation moves from “I think” to something you can actually see. That shared language is especially useful in these areas:
- Shop window and storefront: whether the sign, glass depth and window lighting read from the street.
- Layout: how product islands, the checkout and fitting rooms sit in relation to each other.
- Materials and color: whether floor, wall and shelf choices work with the product.
- Brand identity: whether the space tells the brand’s personality correctly.
We covered how to design the store itself in our retail store design article; here we focus on how that design is tested through images.
The shop window: the first frame read from the street
A shop window image should be taken from outside, at a pedestrian’s eye level, not from inside the store. The real question is this: can someone walking past understand what is being sold? In a render you see the glass reflection, the strength of the interior light and the depth behind the window together. By day, street reflections in the glass can hide the product; in the evening, the interior light takes over. That is why testing the window in both daylight and evening light lets you decide with both conditions in view.

Shelves and product display: visual merchandising
Product density
Empty shelves make a store feel lifeless, while overstuffed ones make it look messy. A shelf layout tested in a render, with models close to real product sizes, makes you think ahead about how many pieces can be displayed comfortably. A luxury boutique and a grocery shelf do not carry the same density; the image shows whether your chosen density suits your brand.
Eye level and lighting
The product you want to highlight should sit near eye level and get its own light. When track spots, in-shelf LEDs and general lighting are tested together in a render, shadows or glare on the product are visible before installation. Light color matters too: we explain how warm and cool light change a product’s color in our color temperature article.

Customer flow: what an image shows and what it doesn’t
Customer flow is the path people take through a store. An aisle that looks easy on a plan can feel narrow in 3D, and a tall shelf can hide the back section from the entrance. Taking a few camera points from the entrance toward the checkout makes these problems visible. The more closely the cameras follow a real walking route, the more instructive the result.
We should be honest, though: a render is not a measurement of customer behavior. It does not tell you where people will stop or how much they will spend. What it does is let you assess sight lines, walking widths and wayfinding before you commit. You can read how framing guides perception in a space in our architectural rendering composition article.

What information does a store render need?
A good image starts with the right input. What you need varies by project, but this list is a solid start: a dimensioned plan and sections if available, photos of the storefront or window, brand colors and logo, shelf and furniture references, the type and approximate size of the products on display, and a lighting idea. If you are preparing a concept to repeat across several branches, share the main module and material rules as well. For the general file list, see our files needed for rendering article.
When should rendering enter the process?
The most efficient moment is after the layout draft exists but before shelves and furniture are ordered. Changes are still easy at this stage; once fit-out begins, the same change can mean removal and remanufacturing. Work usually starts with a rough massing and layout image, materials and light are added once the direction is clear, and presentation-quality views are produced at the final stage.
These in-between steps are valuable for the brand owner too. In a lease negotiation, investor presentation or franchise application, having a concrete image answers “what kind of store will you open?” in a single frame. Keeping the options you compared during design also saves time on later branches; adapting a window or shelf solution tested in one store to a new space is easier than starting from zero.
Frequently asked questions
Does a small store need a render too?
Yes, every centimeter matters more in a small space. One wrong shelf depth can narrow the aisle. A few well-chosen views are often enough for decisions like these.
Can we see different shelf or color options for the same store?
Yes. The model and camera stay the same while materials, shelf layout or lighting change, so the options are compared fairly side by side.
Can a store render be used for promotion too?
Yes. It can be used in pre-opening announcements, franchise presentations and leasing meetings to show how the store will look; stating the channel up front makes it easier to choose resolution and framing.
Would you like to see your store close to reality before it opens? Browse our projects or send us your plan and brand details on WhatsApp, and let’s visualize your store together.