Residential Development Marketing Visuals: Planning the Image Set
How to plan a visual set for a residential development: which image works on which channel, and how to keep every view consistent across your campaign.
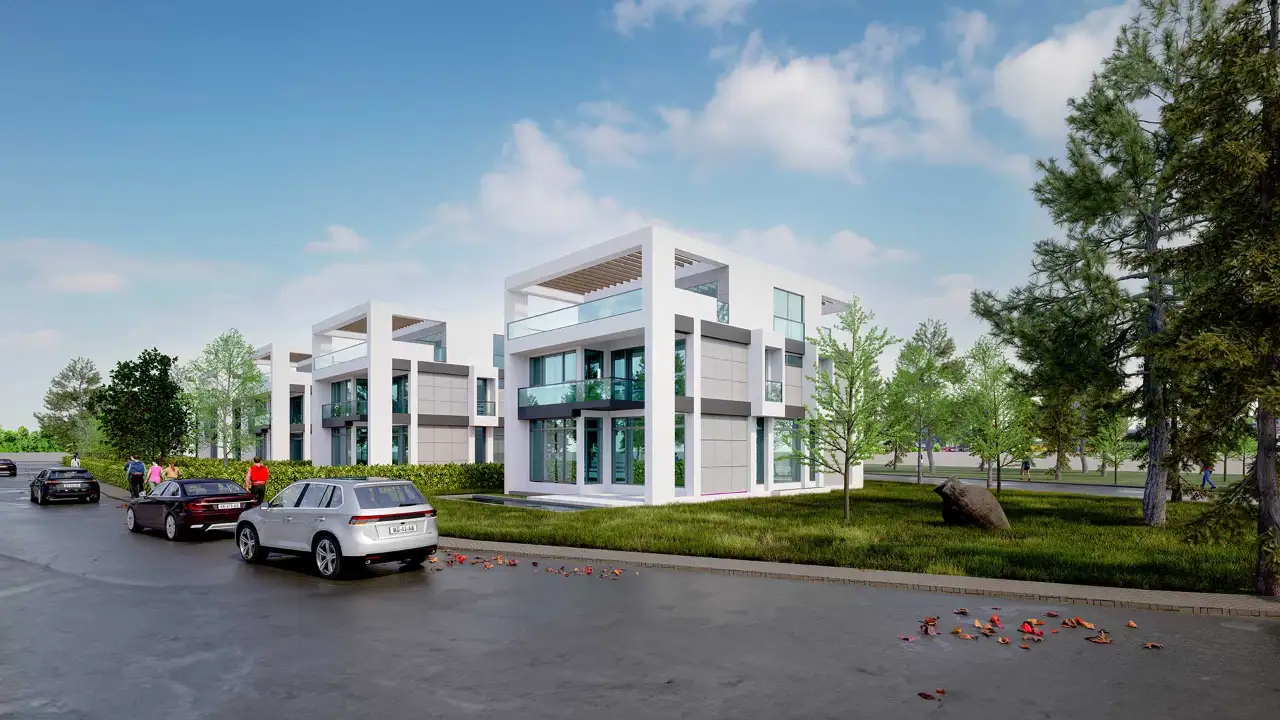
Selling a development whose foundations have not been laid means asking people to imagine a life they cannot see yet. A buyer is not looking for an apartment so much as the balcony for morning coffee, the garden where a child will play and the path home. Residential development marketing visuals make that picture concrete, but one beautiful image is not enough. The visual that stops someone in an ad and the one that helps them choose an apartment in the sales office do different jobs. In this article we explain how to plan an image set for a housing project, which view works on which channel and how to keep the set consistent.
Why one render isn’t enough: thinking in image sets
A buyer does not meet a project all at once. They first see it on social media or a sign, then look at the website, ask for a brochure and visit the sales office. The question changes at every step: first “where is this and what kind of place is it?”, then “what is it like to live inside?”, and finally “which unit is mine?” A well-planned image set answers each of these and, because it comes from one model, tells the same project story on every channel. We covered the general logic of the sales process in our 3D visualization for off-plan sales article.
Core image types for a housing development
The hero image
This is the face of the project. It usually shows the strongest facade in the most striking light and repeats across every channel. Because the campaign’s identity grows from it, it should be the first view you plan.
Aerial site view
This view explains the layout of the blocks, green areas, parking entrances and the relationship to the surroundings in one frame. It lets buyers place the development in their minds. You can find what to watch for when setting up this view in our aerial rendering article.
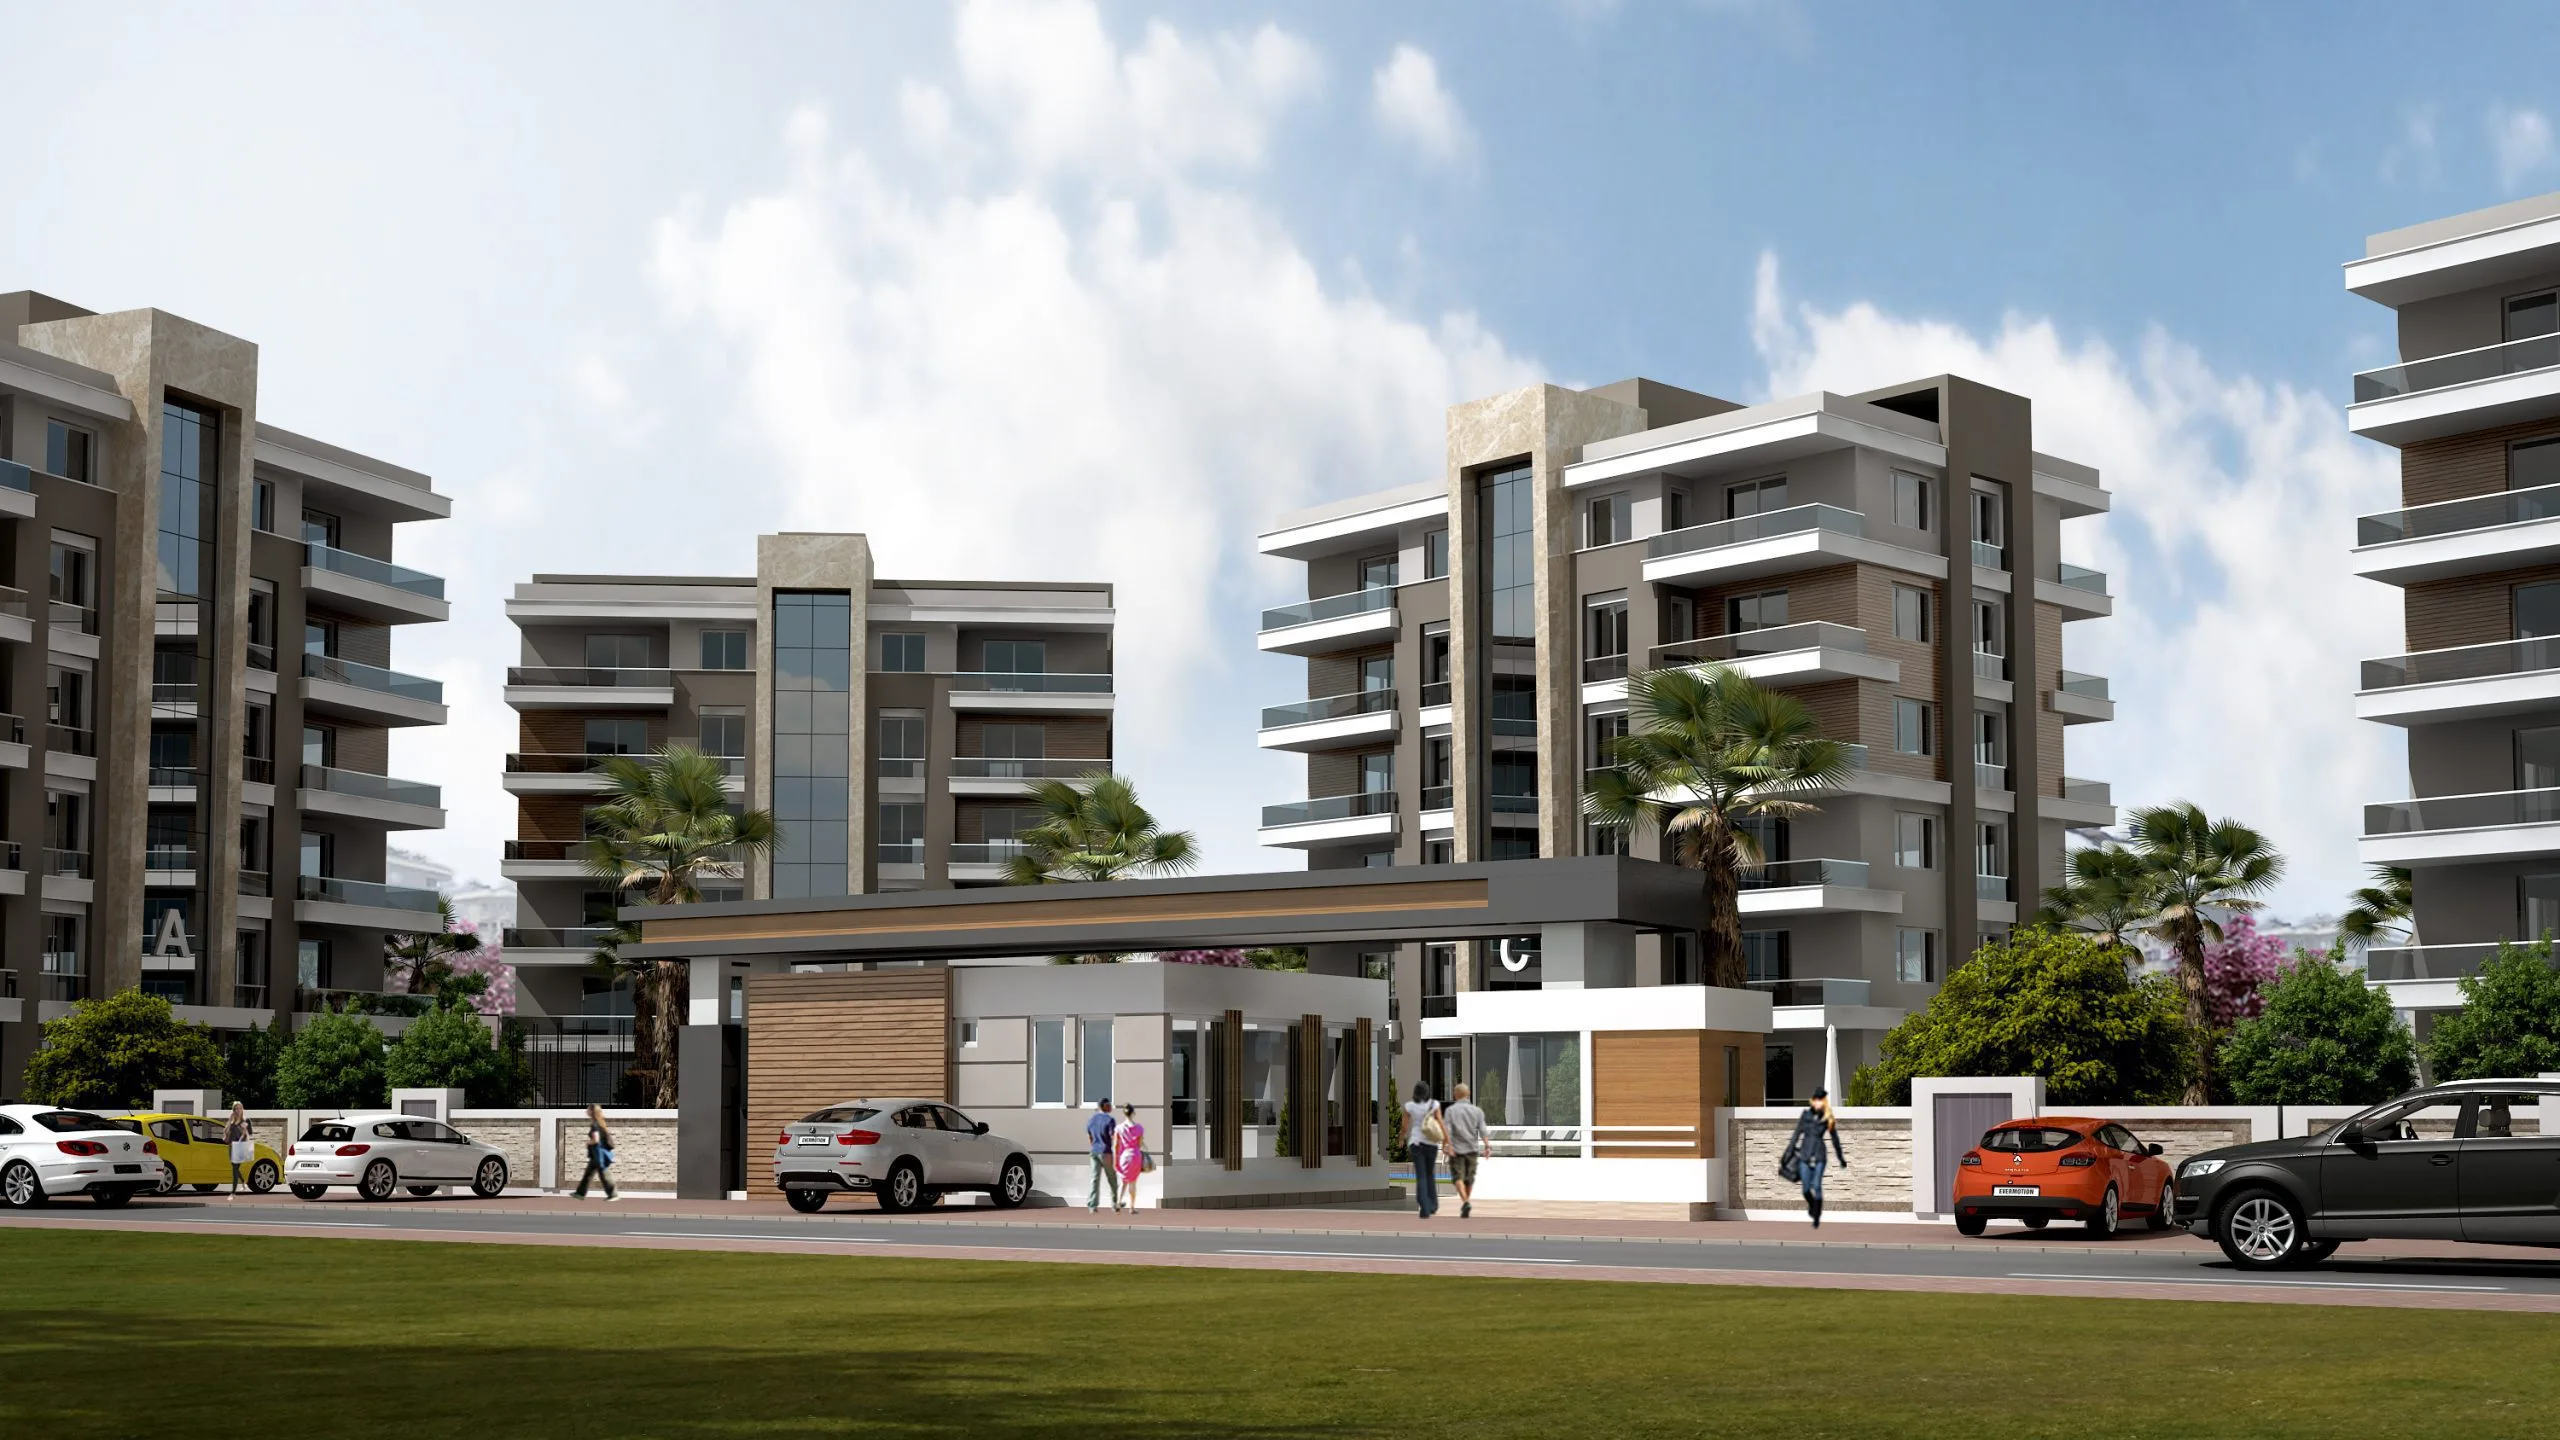
Eye-level and lifestyle images
This is what someone walking through the development sees: the entrance, garden path, play area and poolside. Correctly scaled human figures and an everyday atmosphere turn a building into a home. These are the frames where buyers picture themselves.
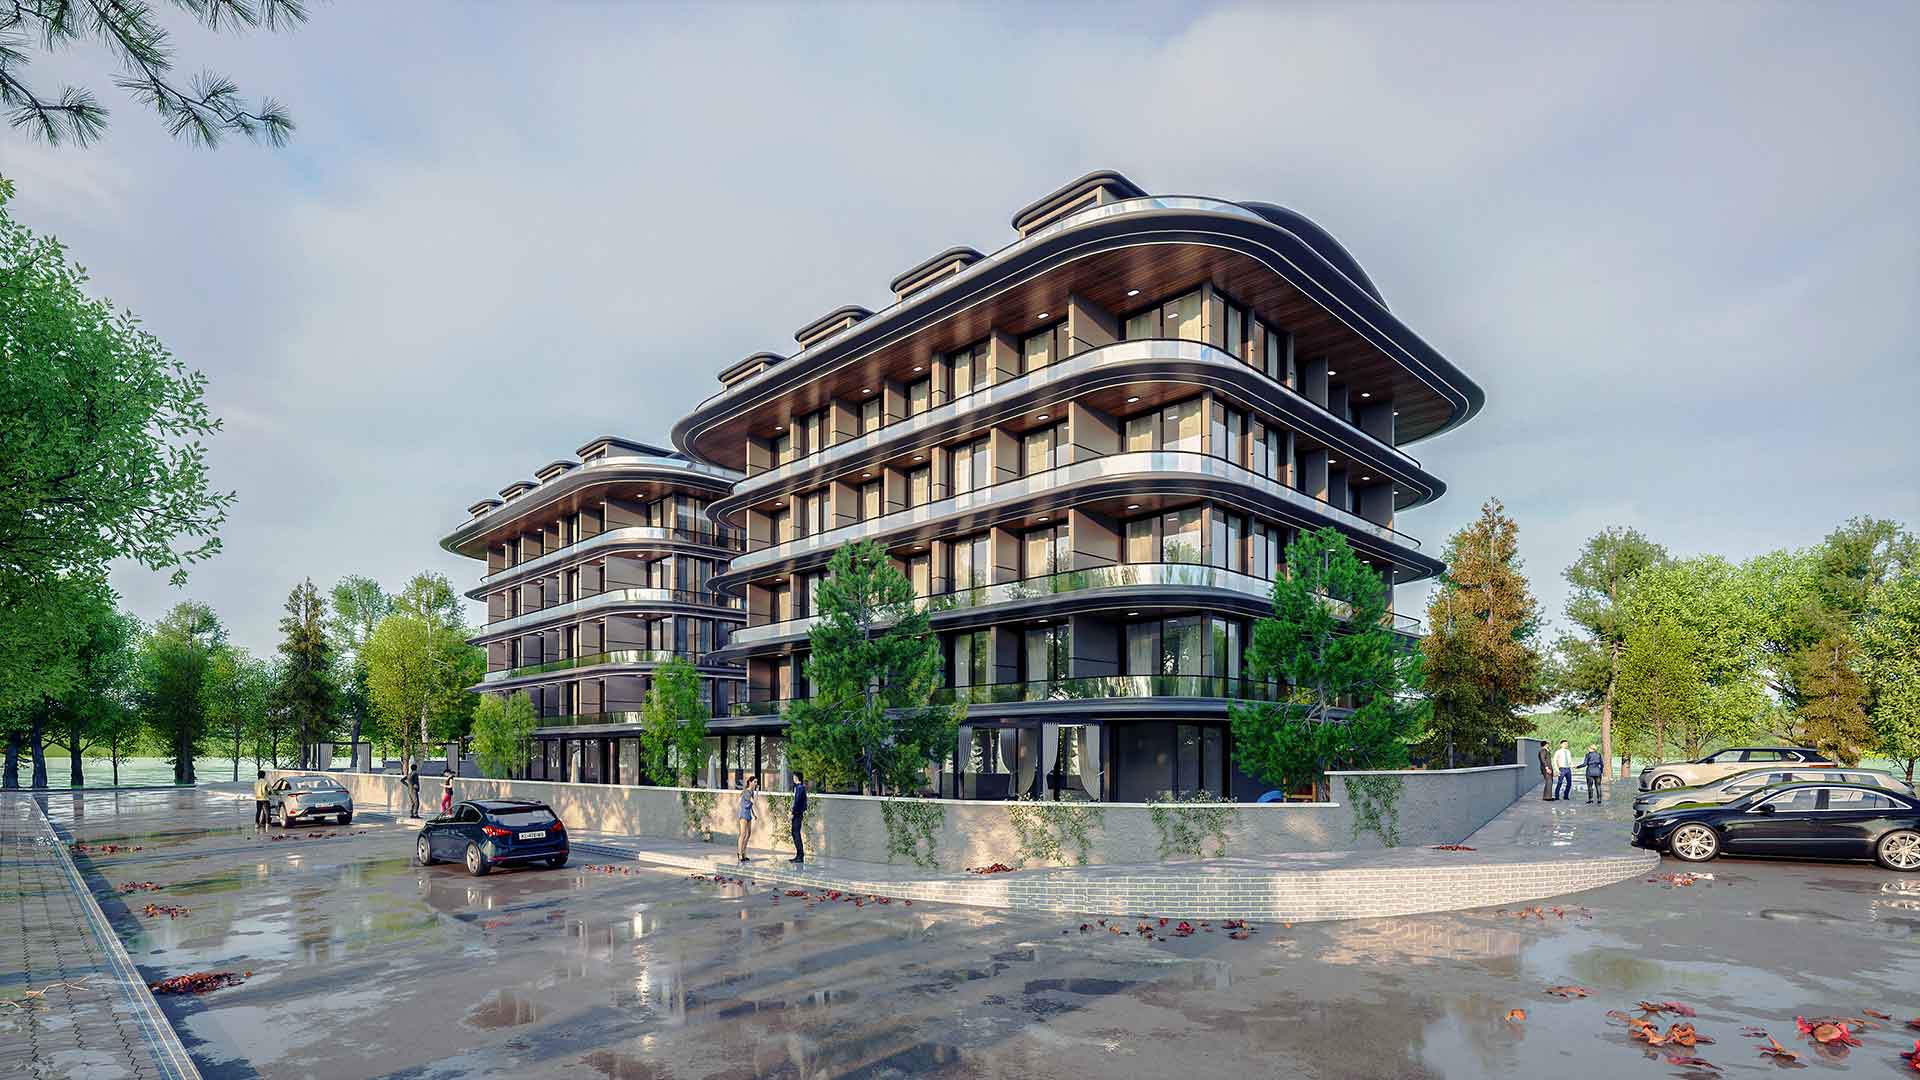
Interiors and the show apartment
Spaces such as the living room, kitchen and bedroom show buyers what living inside looks like while no show apartment exists. If there are several unit types, it makes sense to start with those you expect to sell most.

Floor plans and details
Colored or 3D floor plans help buyers understand square footage and how rooms relate. Close-up views of the facade material, lobby or amenities tell the quality story in detail.
A channel-by-channel plan: which image works where?
- Social media and digital ads: views that read on a narrow screen, carry one idea and adapt to a vertical crop.
- Project website: the hero image, aerial, interiors and floor plans in an organized gallery.
- Brochure and catalog: print-ready resolution and compositions that leave room for text.
- Site hoarding and billboard: a simple hero image that reads from a distance, plus a short message.
- Sales office: interiors, floor plans and, where available, a virtual tour or animation.
A practical tip: prepare this list with usage sizes before the views are produced. If you crop a horizontal image to vertical later, you may lose an important part of it; we explain print sizes in our render resolution for print article. If you want to walk buyers through the space at the sales office, consider a virtual tour as well.
Consistency: one project, one language
If the facade looks one color on the website and another in the brochure, buyer trust suffers. To prevent this, all views should come from one up-to-date model, with the material and lighting language set from the start. When the project changes, the model is updated and the images are refreshed to the same standard.
Honesty is also part of consistency. Images should reflect the approved project and must not promise landscaping that will not be finished or a view that will not exist. Stating that an image is illustrative protects both the buyer and you; confirm your obligations on this with your legal advisor.
Planning the image set step by step
The clearer the plan on paper, the fewer surprises in production. This order is a good start for most projects:
- Define the buyer: a young family buying a first home and an investor are not moved by the same views.
- Choose the promise: what sets the project apart: location, green space or amenities?
- List channels and sizes: write down each use as horizontal, vertical or print.
- Approve camera points: agreeing on framing in the rough model saves time later.
- Finish the hero image: once the material and lighting language is approved, the other views follow it.
Keeping a project file helps as well: if you record which image goes to which channel and which project version it was produced from, an out-of-date view won’t slip into a brochure by mistake.
Frequently asked questions
How many images does a housing development need?
There is no fixed number; it depends on project scale, the number of unit types and the channels you will use. Listing your channels and what each one needs reveals the set by itself.
When should we start on the visuals?
Start once the architectural design is settled and the launch date is known, well ahead of the campaign. Approving the key views first makes it easier to produce the rest in the same language.
Do the images need to be redone if the project changes?
Because the model is kept, only the changed part is updated and the affected views are rendered again. That is why building a tidy model from the start pays off over time.
Planning a channel-by-channel image set for your housing project? Browse our projects or send us your project and sales timeline on WhatsApp, and let’s plan your image set together.


